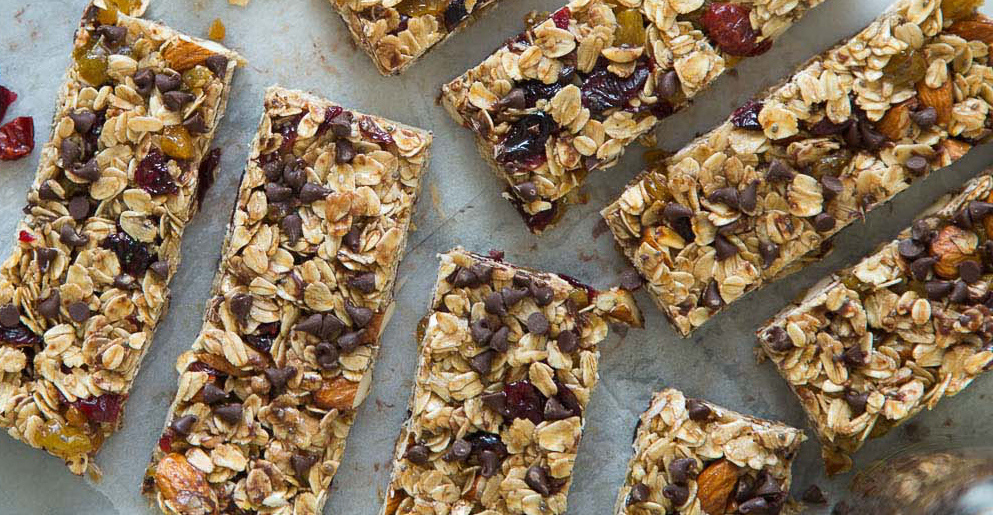
Lots of energy bars these days seem good for you but they’re not. To debunk the various health claims of their respective manufacturers, all you have to do is take a quick look at the list of ingredients — tons of sugar and calories in them will only leave you feeling famished and lethargic after a while, and also make you pack unwanted pounds!
The sad truth is so many people consume these products as meal replacements, but they do not really supply the complete line of nutrients the body needs on a daily basis. Others reach for energy bars in order to enjoy weight loss, but it’s not unlikely for a huge percentage of these individuals to end up fatter.
Checking out the packaging of brand of energy bar after the other will reveal the fact that the current market is flooded with unhealthy energy bars. In fact, these products are more suitable of being called candy bars because they do not really provide you with the protein, fiber and good quality fiber you are on the hunt for.
Luckily, you can make your own energy bar at home, saving you from all the sugar and calories that most energy bars out there come packed with. Because you know exactly which ingredients go into the making of an energy bar made right in your own kitchen, you can rest assured that your health and figure won’t be placed in jeopardy.
Speaking of ingredients, this very simple energy bar recipe requires you to obtain only 3 ingredients! It’s a far cry from supermarket-bought energy bars that contain lots of ingredients, many of which can mess up your health in all sorts of ways. The ingredients you will need to whip up energy bars you and your family can enjoy without any compromises are very easy to obtain. In fact, all of them may already be in your kitchen right now!
Aside from enjoying a totally healthy snack, meal replacement or even weight-loss aid, making your own energy bar lets you widen your culinary expertise. What’s more, not everyone knows how to make healthy and tasty energy bars — your heart will burst with pride seeing the reactions of your family and friends upon taking a bite of your masterpieces.
This recipe lets you come up with energy bars that are not laden with sugar, calories and other ingredients that you don’t need. In other words, it lets you produce some of the healthiest energy bars on the planet!
Ingredients:
• 1 cup of nuts (could be just one variety of your choice or mixed)
• 1 cup of dates (pitted and dried)
• 1 cup of dried fruit of your choice
Procedure:
1. Have your 1 cup of nuts roasted. While you are free to use raw nuts for making homemade energy bars, roasting them first is a wonderful idea. Doing this will add more texture and nutty flavor to your energy bars.
2. In a food processor, place your roasted nuts, dates and dried fruit. To break up all of your ingredients, pulse for a few times. In case the dates stick to one another, separate them.
3. Process everything for about half a minute. At the end of 30 seconds, everything in the food processor should already be reduced to crumb-size bits. For a more consistent texture, scrape the ingredients sticking under the blade and on the sides of the bowl.
4. Process the ingredients for about a couple of minutes more. Everything should be sticking to one another, forming a single ball.
5. On your kitchen counter or dining table, lay a piece of wax paper. A piece of plastic wrap will also do. Transfer your ingredients on it.
6. Using your hands, press the sticky ingredients until you form a square measuring about 8 inches by 8 inches.
7. Grab a sharp knife and carefully divide the square into 8 large bars or 16 tiny squares, depending on your preference.
8. Wrap each bar or square in its own wax paper or plastic wrap to keep it from sticking to the others.
9. Stash your homemade energy bars in the fridge. This will make them last for a few weeks. If you want to make them stay consumable for months, store your homemade energy bars in the freezer.


